加密证书
从 v1.4.9 版本开始,blikvm 默认启用 HTTPS。即使通过 HTTP 访问,也会自动重定向到 HTTPS:
sudo -s
vim /mnt/exec/release/config/app.json
找到以下配置内容。密钥和证书位于路径 /mnt/exec/release/lib/https/ 中。用户可以根据需要替换它们。
如果想使用 HTTP 协议,将 protocol 字段更改为 http。修改配置后,使用命令 systemctl restart kvmd-web 重启。
"server": {
  "ssl": {
  "key": "./lib/https/key.pem",
  "cert": "./lib/https/cert.pem"
}
Let's Encrypt
您需要一个有效的公共域名才能使用 Let's Encrypt。本示例使用域名 blikvm.space。
- 开始申请证书
运行以下命令开始申请证书:
certbot certonly --manual --preferred-challenges dns -d example.com
- 在域名控制台中添加 DNS 记录。
Saving debug log to /var/log/letsencrypt/letsencrypt.log
Plugins selected: Authenticator manual, Installer None
Requesting a certificate for blikvm.space
Performing the following challenges:
dns-01 challenge for blikvm.space

- - - - - - - - - - - - - - - - - - - - - - - - - - - - - - - - - - - - - - - -
Please deploy a DNS TXT record under the name
_acme-challenge.blikvm.space with the following value:

UyC2WAhvG9zDuyDPKAHovW6y-RxpZ1_KB8XnT4UyAnc

Before continuing, verify the record is deployed.
- - - - - - - - - - - - - - - - - - - - - - - - - - - - - - - - - - - - - - - -
Press Enter to Continue
执行上述命令后,您将看到类似输出。按照提示登录域名后台(如亚马逊云、阿里云、腾讯云等),添加一个名为 _acme-challenge.example.com 的 TXT 记录,并使用 UyC2WAhvG9zDuyDPKAHovW6y-RxpZ1_KB8XnT4UyAnc 作为记录值。
- 当 DNS 记录生效后,按 Enter 继续。
注意
- DNS 记录不会立即生效,因此稍后再按 Enter。
- 使用命令 nslookup -type=TXT _acme-challenge.blikvm.space 验证 DNS 是否生效,如下所示:
root@blikvm(rw):/mnt/tmp# nslookup -type=TXT _acme-challenge.blikvm.space
Server:		192.168.8.1
Address:	192.168.8.1#53

Non-authoritative answer:
_acme-challenge.blikvm.space	text = "UyC2WAhvG9zDuyDPKAHovW6y-RxpZ1_KB8XnT4UyAnc"
Authoritative answers can be found from:
您将收到证书申请成功的提示(类似以下内容):
Waiting for verification...
Cleaning up challenges
Subscribe to the EFF mailing list (email: info@blicube.com).

IMPORTANT NOTES:
 - Congratulations! Your certificate and chain have been saved at:
   /etc/letsencrypt/live/blikvm.space/fullchain.pem
   Your key file has been saved at:
   /etc/letsencrypt/live/blikvm.space/privkey.pem
   Your certificate will expire on 2025-03-04. To obtain a new or
   tweaked version of this certificate in the future, simply run
   certbot again. To non-interactively renew *all* of your
   certificates, run "certbot renew"
 - If you like Certbot, please consider supporting our work by:

   Donating to ISRG / Let's Encrypt:   https://letsencrypt.org/donate
   Donating to EFF:                    https://eff.org/donate-le
- 使用证书
根据第 3 步,您可以看到证书路径位于 /etc/letsencrypt/live/blikvm.space/。修改配置文件:
vim /mnt/exec/release/config/app.json
将以下密钥和证书替换为
"server": {
  "ssl": {
  "key": "/etc/letsencrypt/live/blikvm.space/privkey.pem",
  "cert": "/etc/letsencrypt/live/blikvm.space/fullchain.pem"
}
- 为 blikvm 设置本地域名。在 PC 上打开 /etc/hosts 文件,添加以下行。IP 和域名根据您的实际情况填写。
192.168.8.16 blikvm.space
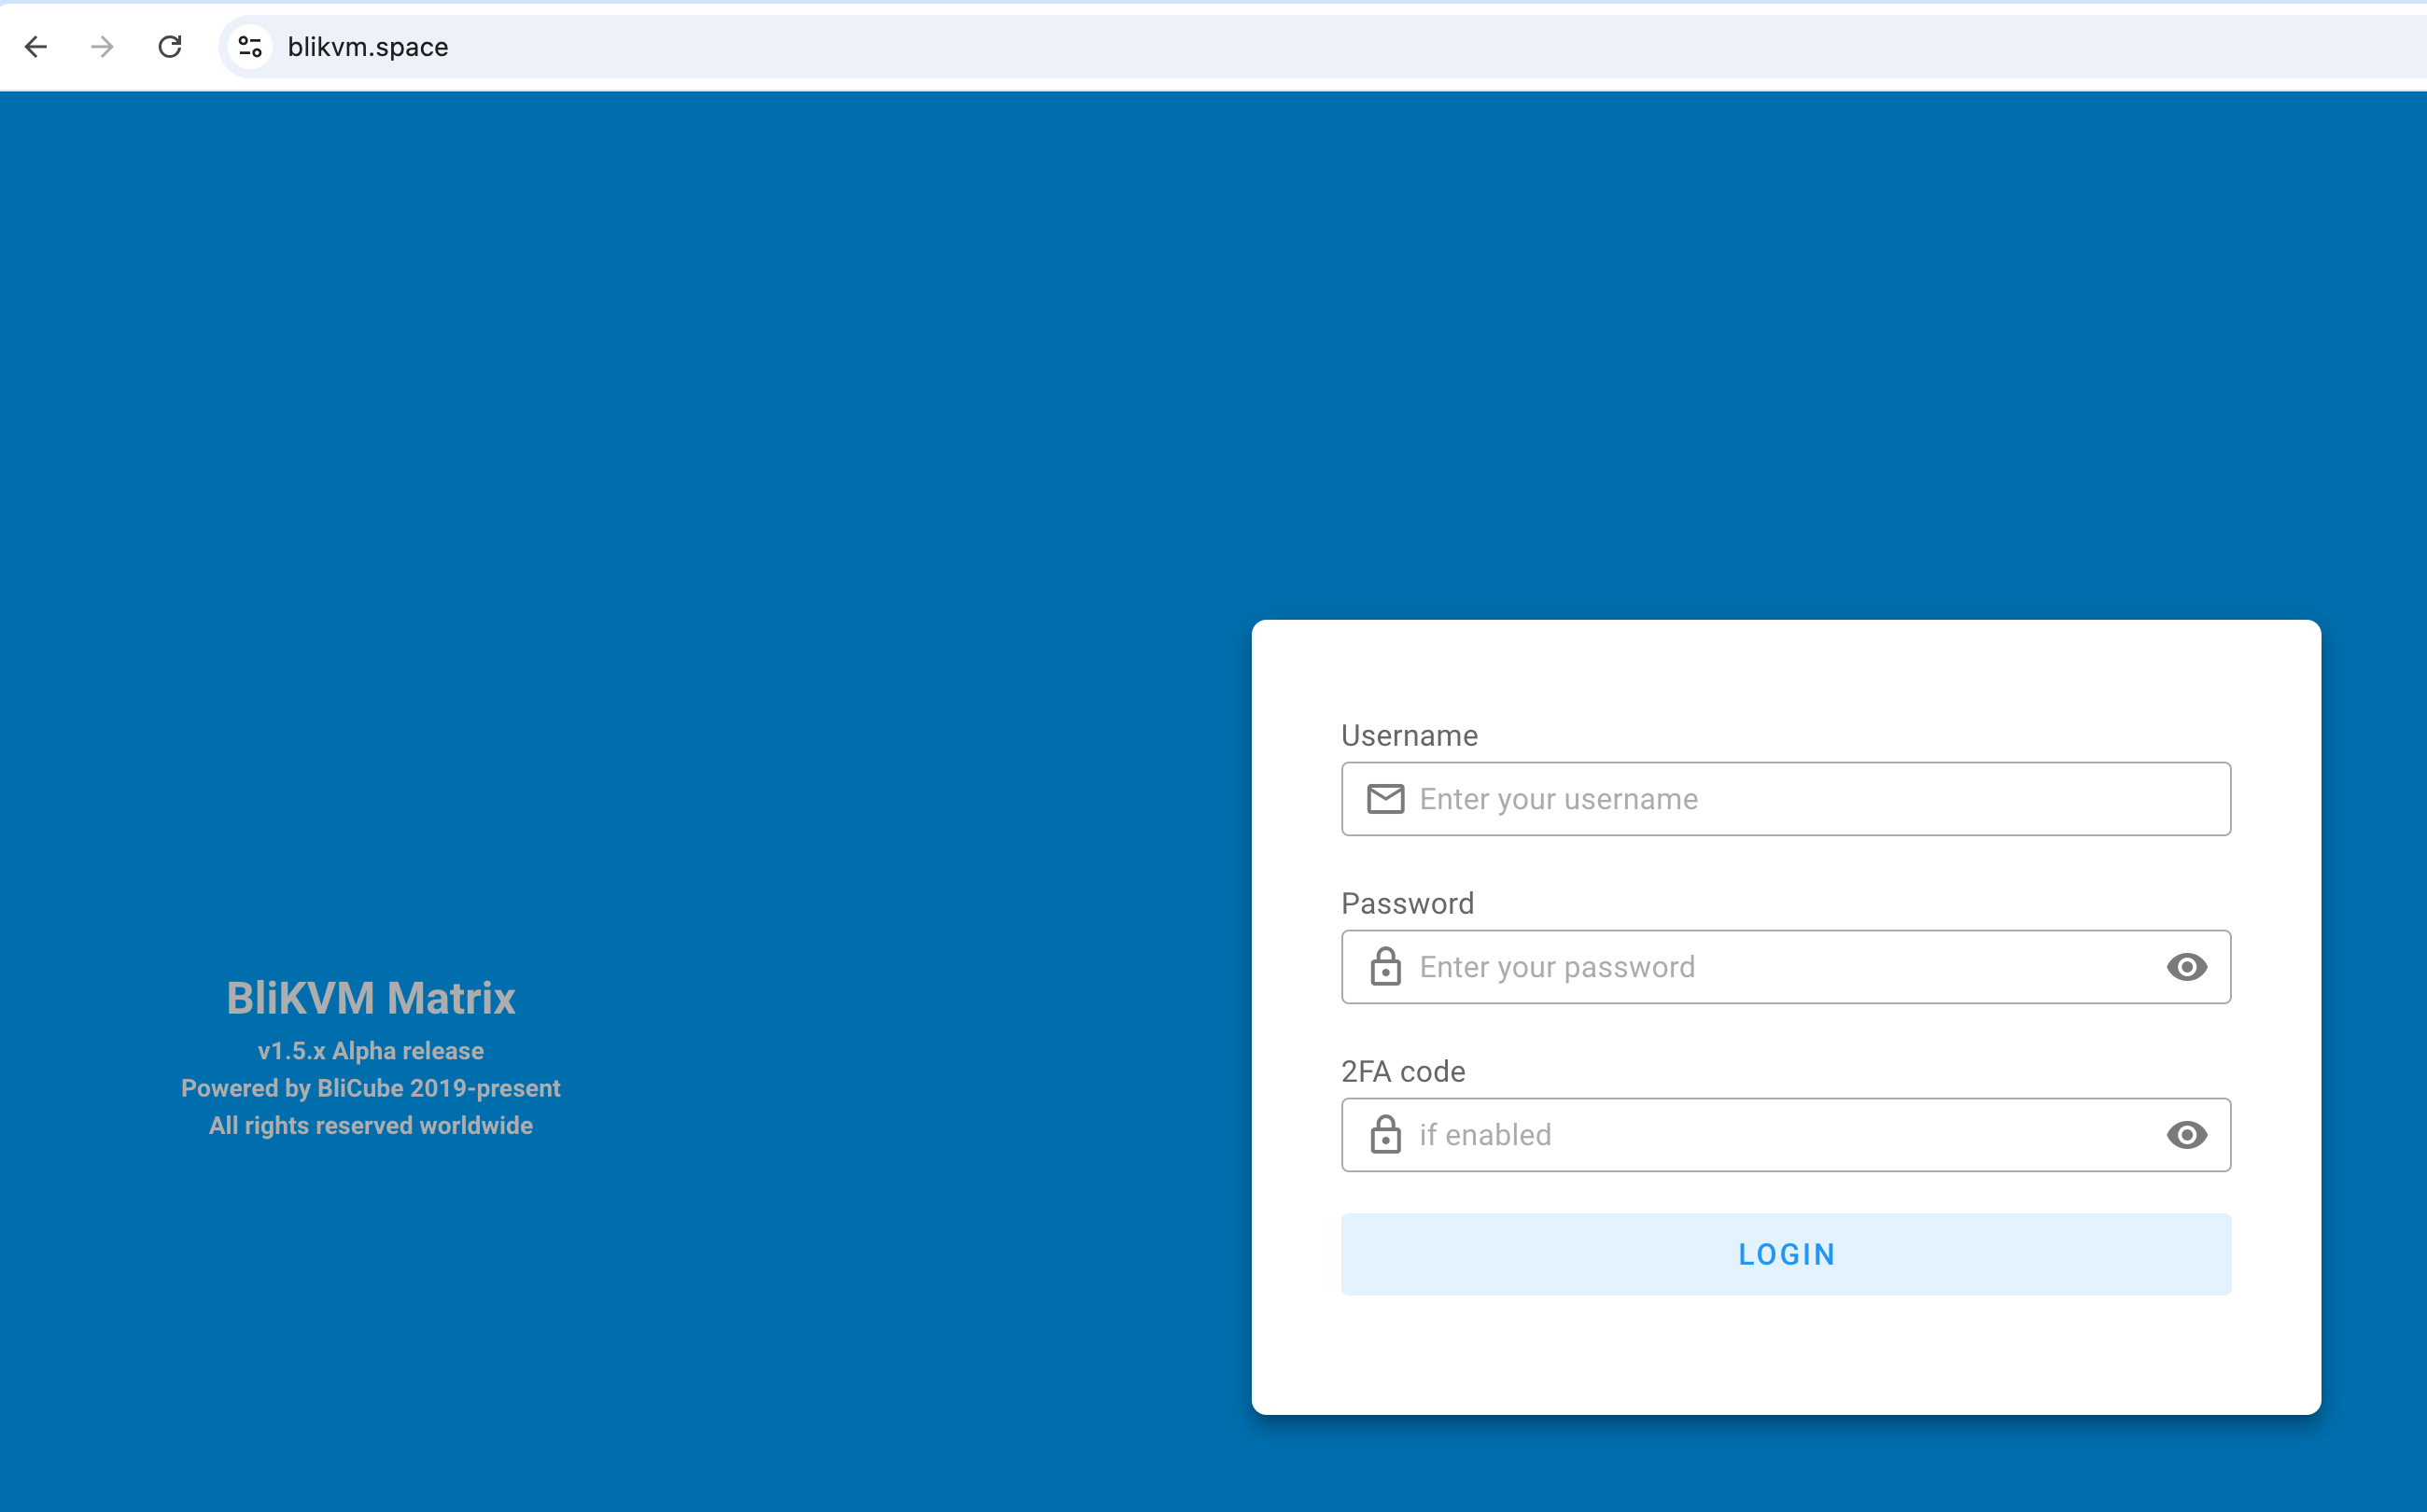
- 然后您可以直接使用域名访问 blikvm。
